Access Landing for Heavy-Duty Scaffolding
Barricade Guardrail for Heavy-Duty & Standard-Duty
Braced-Bay Material Deck
Adjustable 21-Foot Heavy-Duty Bridge System
— Bridge System Comparison
— 21-Foot Bridge Installation Instructions
Barricade Guardrail
— Guardrail Post Socket for Pullouts
— Mason’s Guardrail Socket
Material Hoist System For Heavy-Duty
Inside Corner Brackets
Parts Basket – Man Basket
Pilaster Brackets
Rack Brackets
Rest Platform
Side-Stabbing Forklift Bar
Standard-Duty Overhead Protection – Winter Enclosure
Swivel Forklift Bar
Wall Tie-In Bracket
Heavy-Duty Winter Enclosure using Overhead Protection
Heavy-Duty Winter Enclosure – Entire Scaffold
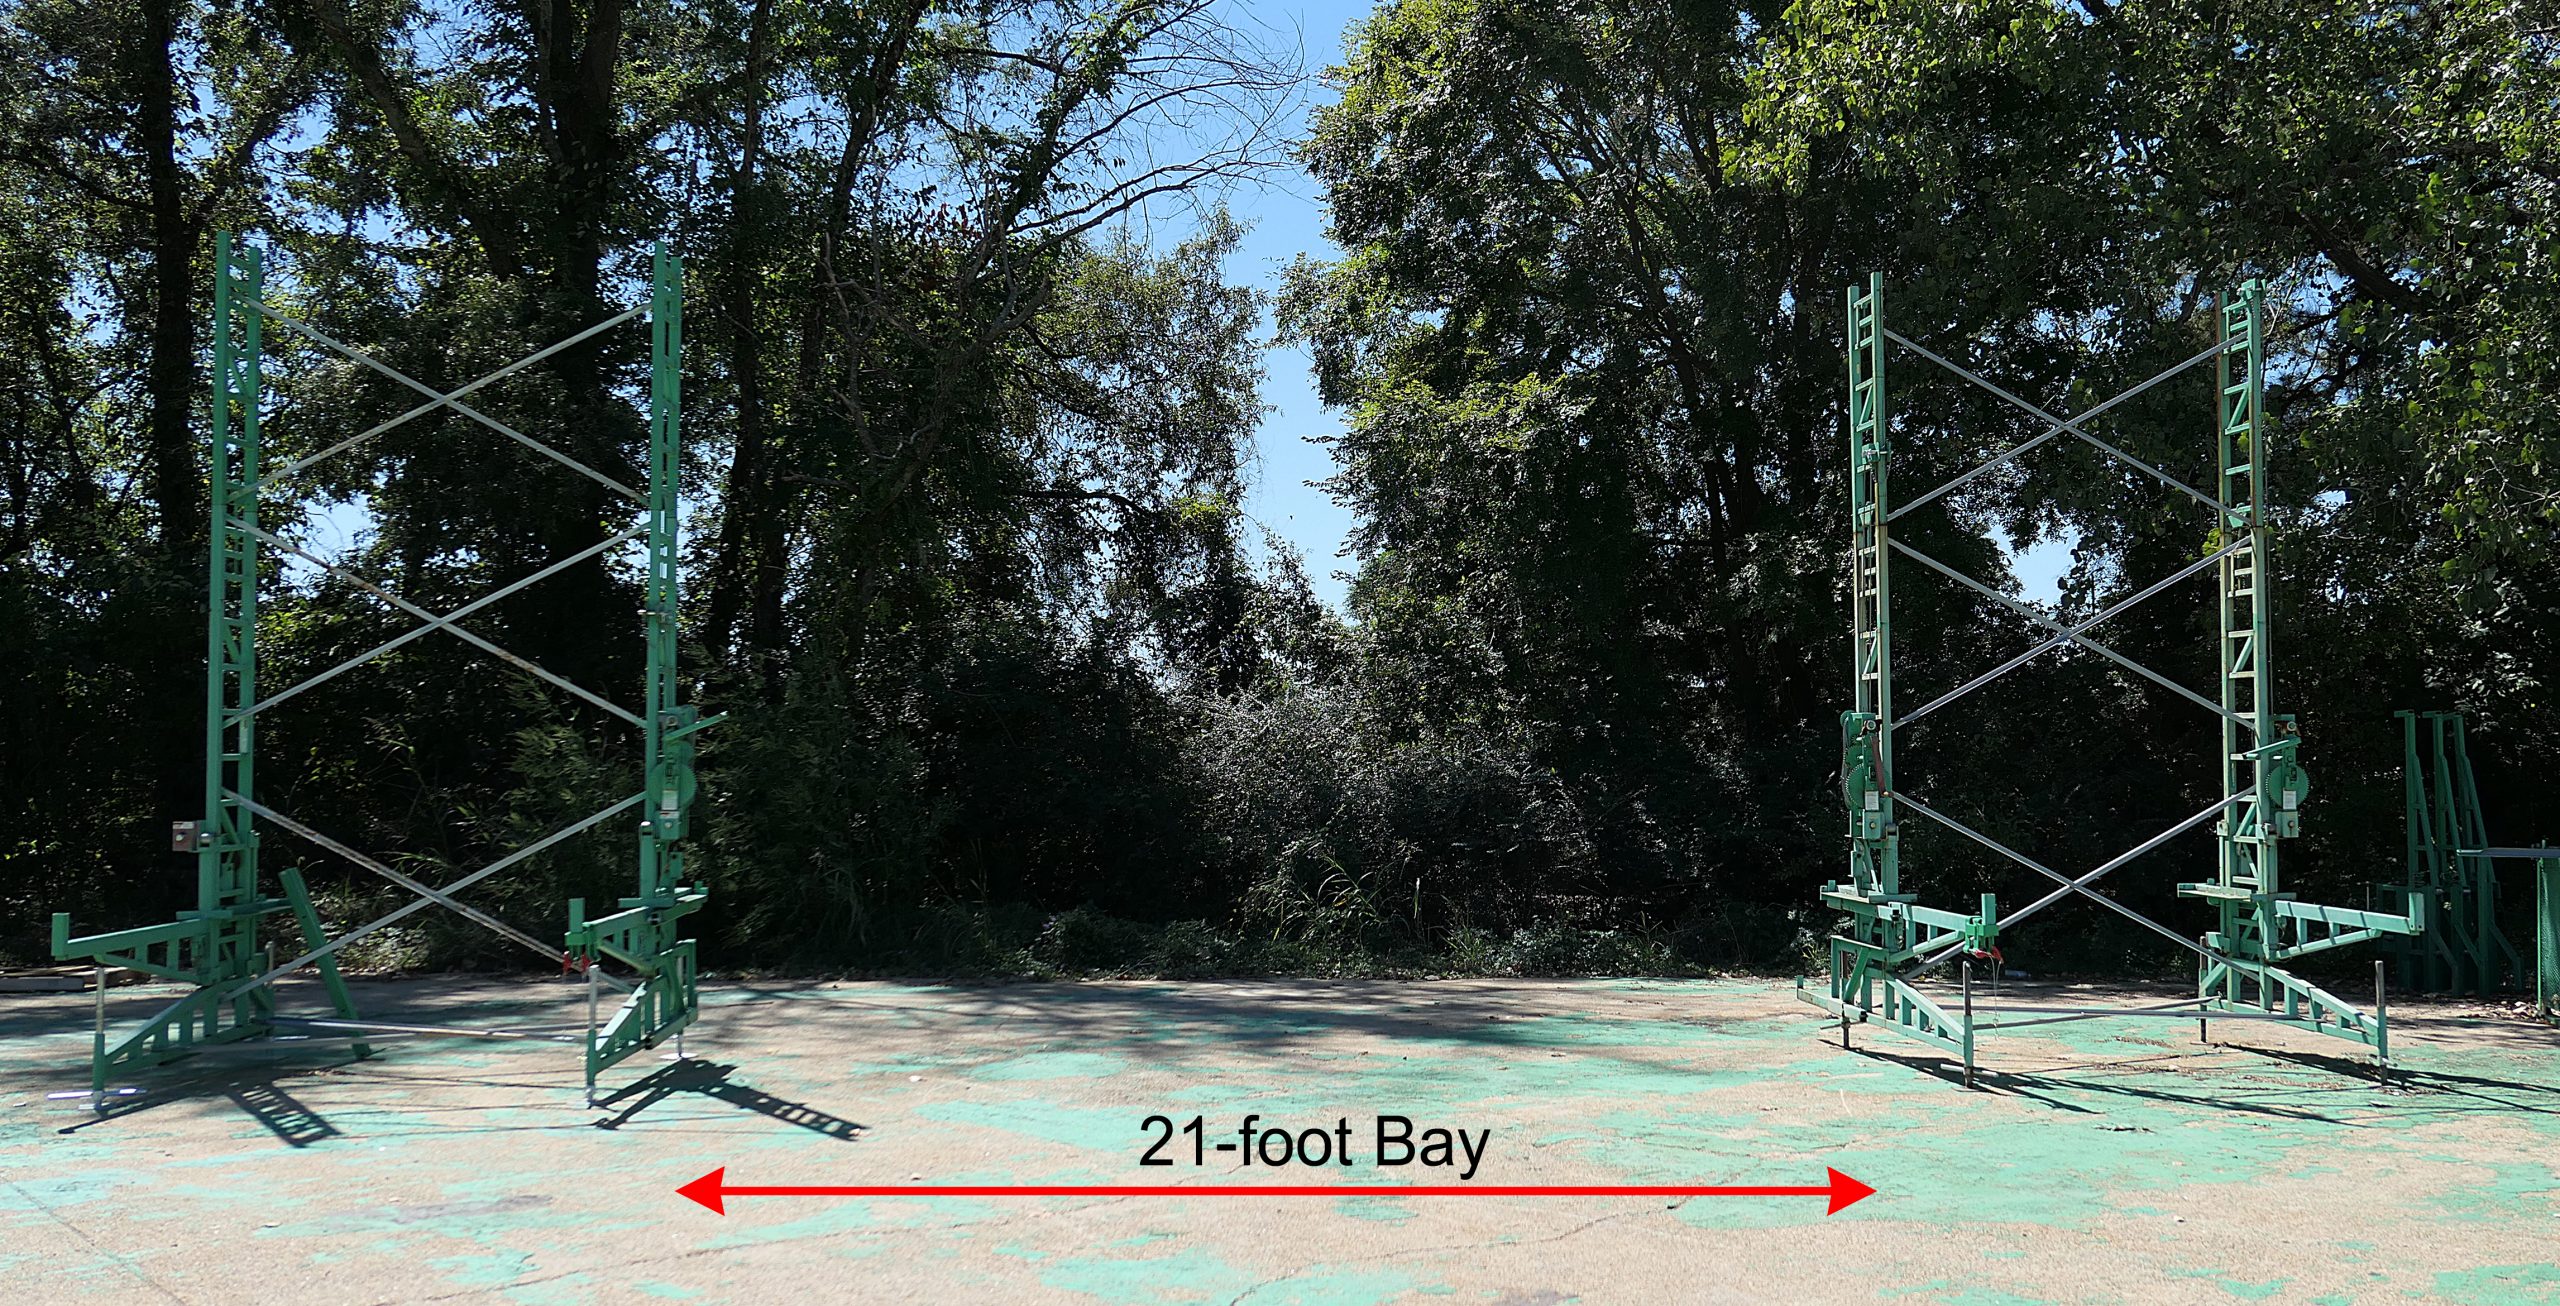
Start with 2 Non-Stop Heavy-Duty towers 13′-8″ to 21′-0″ apart.
If a spacing of less than 21′-0″ is used, the top of the tower must be tied together with #9 wire to prevent the towers from spreading.
Bolt two wall side truss units together to make a wall side truss. Use only the 1/2 x 3-1/2 bolts and nylon locknuts provided by Non-Stop, or equivalent.
Place the truss on the elevating carriages as shown in the picture to the right.

Lock the platform brackets onto the wall side truss.
You will need to remove the masons’ walkboard support from the bracket before it will fit into the truss, then re-install it.
It will be easier if you have a helper when you install the second platform bracket.

Install a truss hanger on both elevating brackets exactly as shown here.
Bolt two labor-side truss units together to make a labor-side truss. Use only the 1/2 x 3-1/2 bolts and nylon locknuts provided by Non-Stop, or equivalent.
Lock both platform brackets onto the labor-side truss. Then, raise the truss up and secure it to the truss hangers. Use only the locking pins provided by Non-Stop, or equivalent. 2 men can do the job easily without a forklift, but having one is easier.
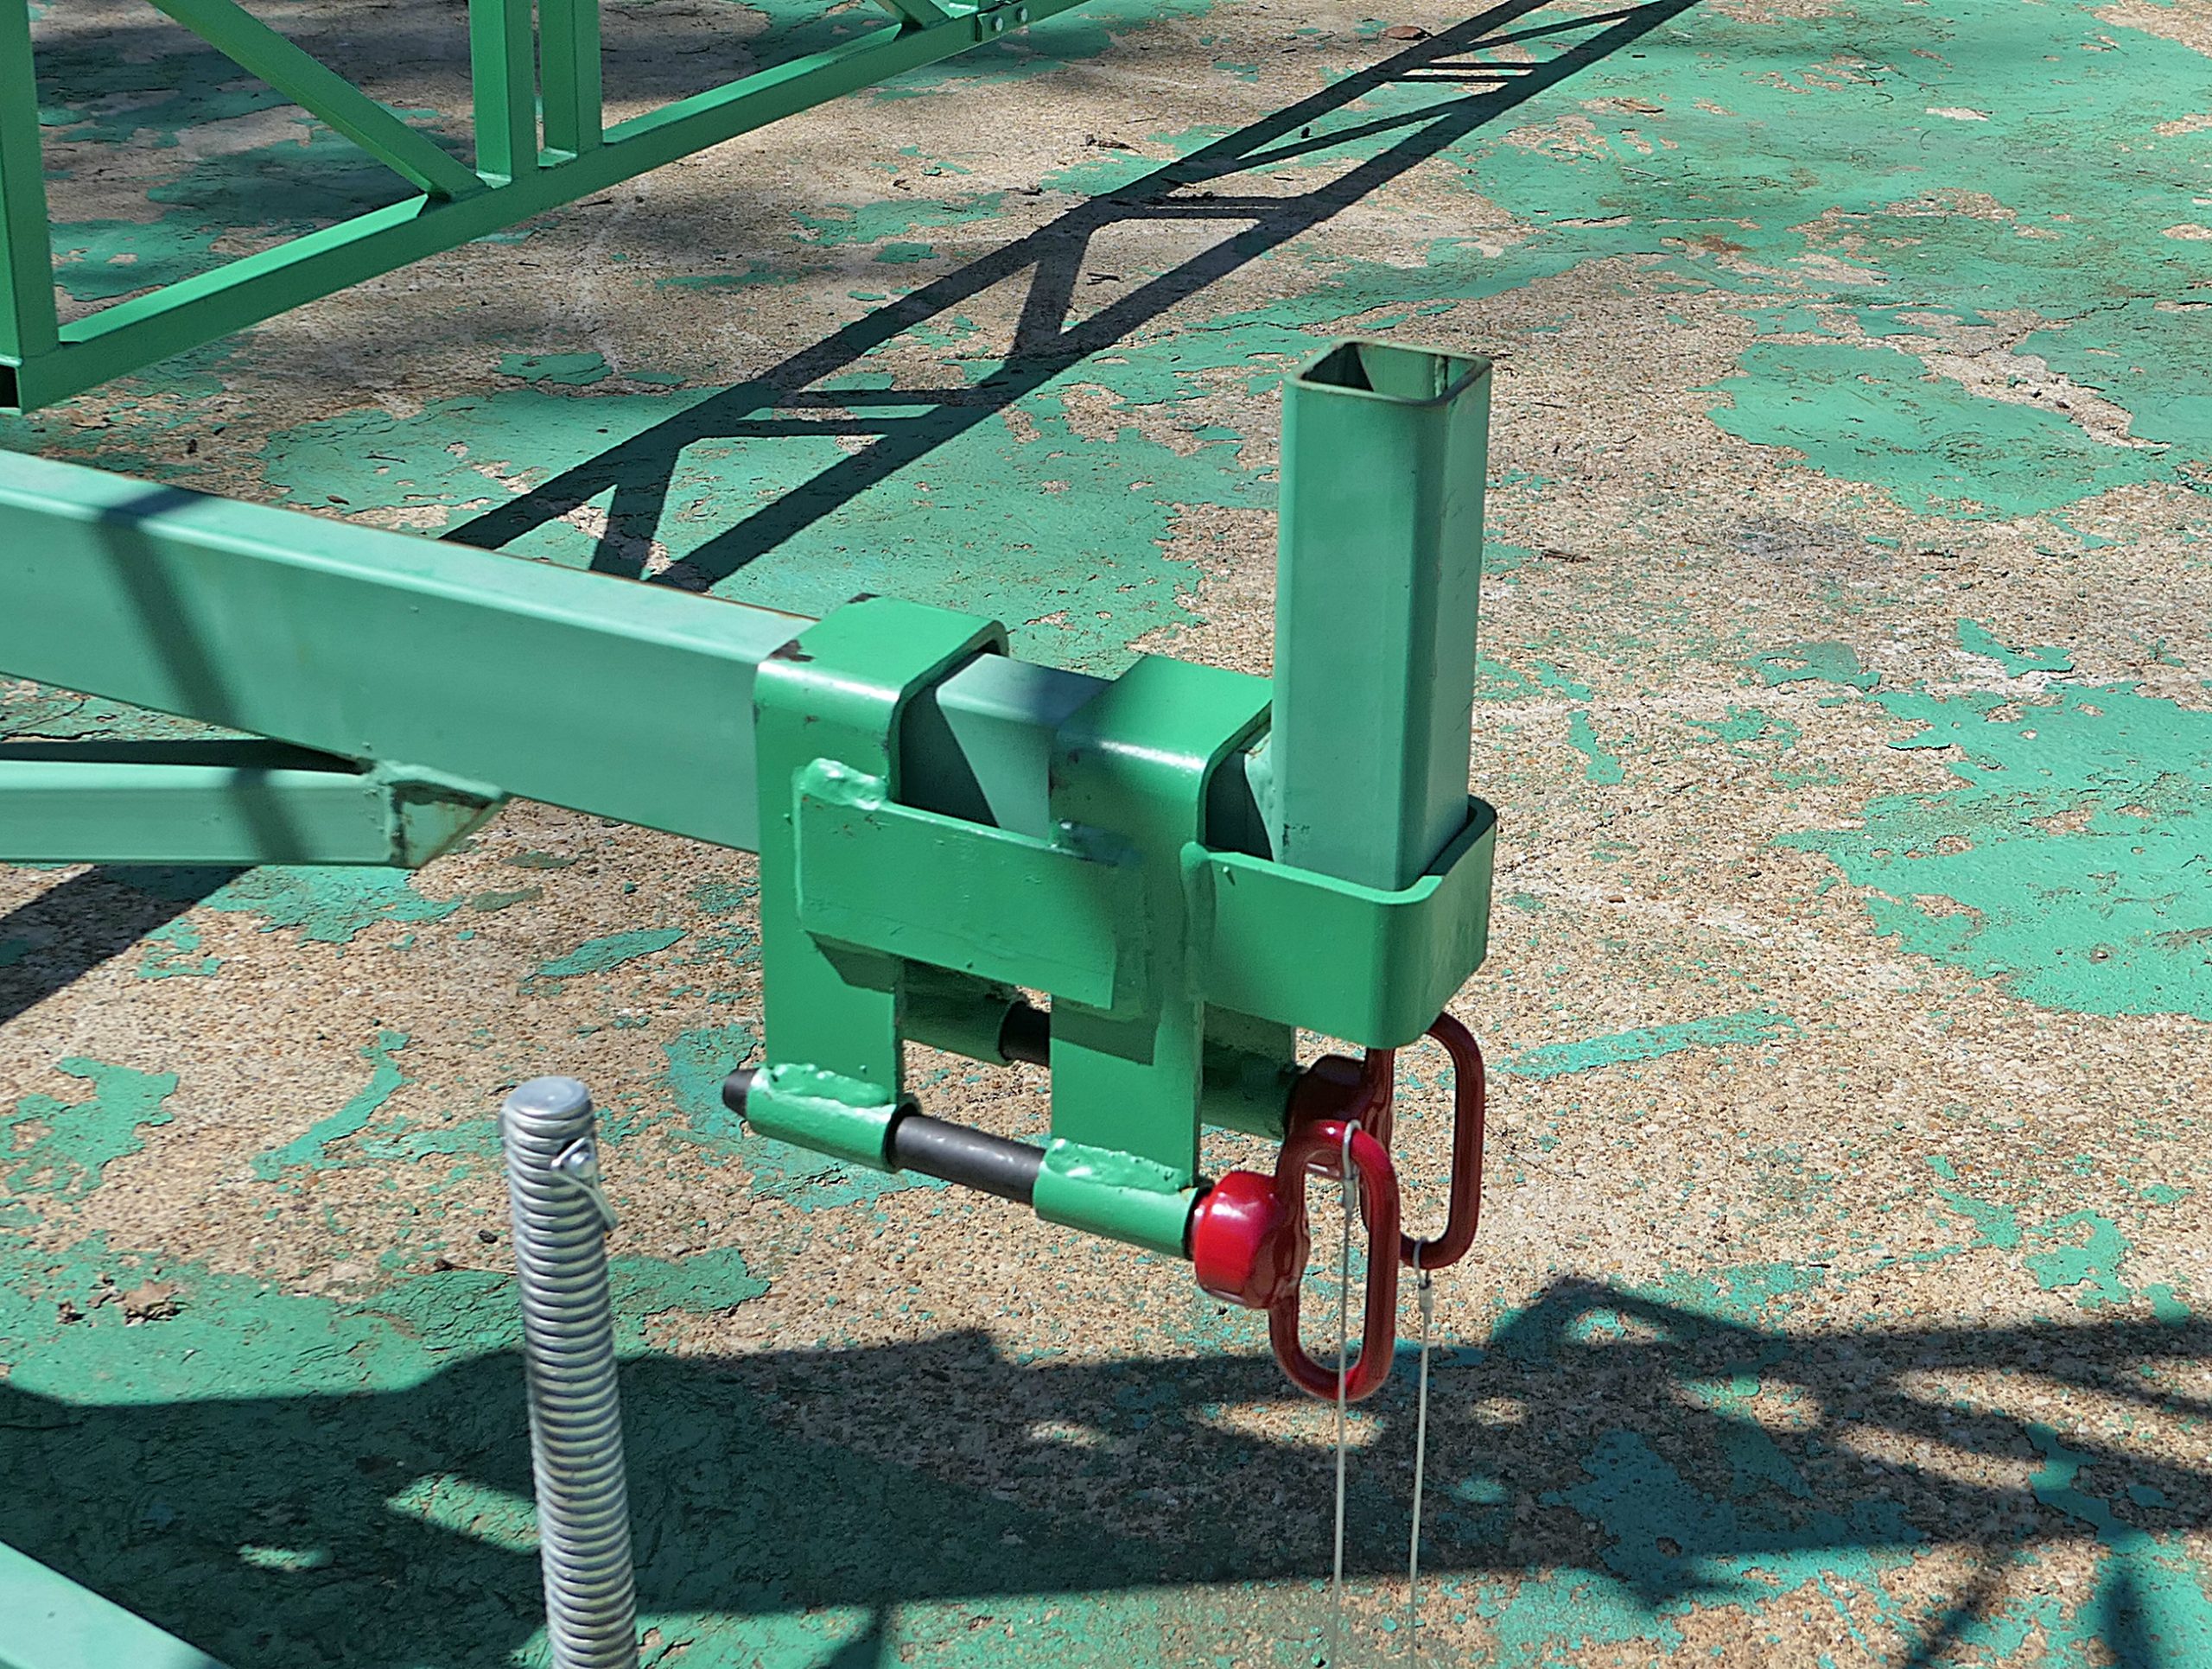
Re-install the masons’ walkboard supports (pullouts).
Be sure to replace the bolt on the end of the pullout so it can’t slide all the way out.

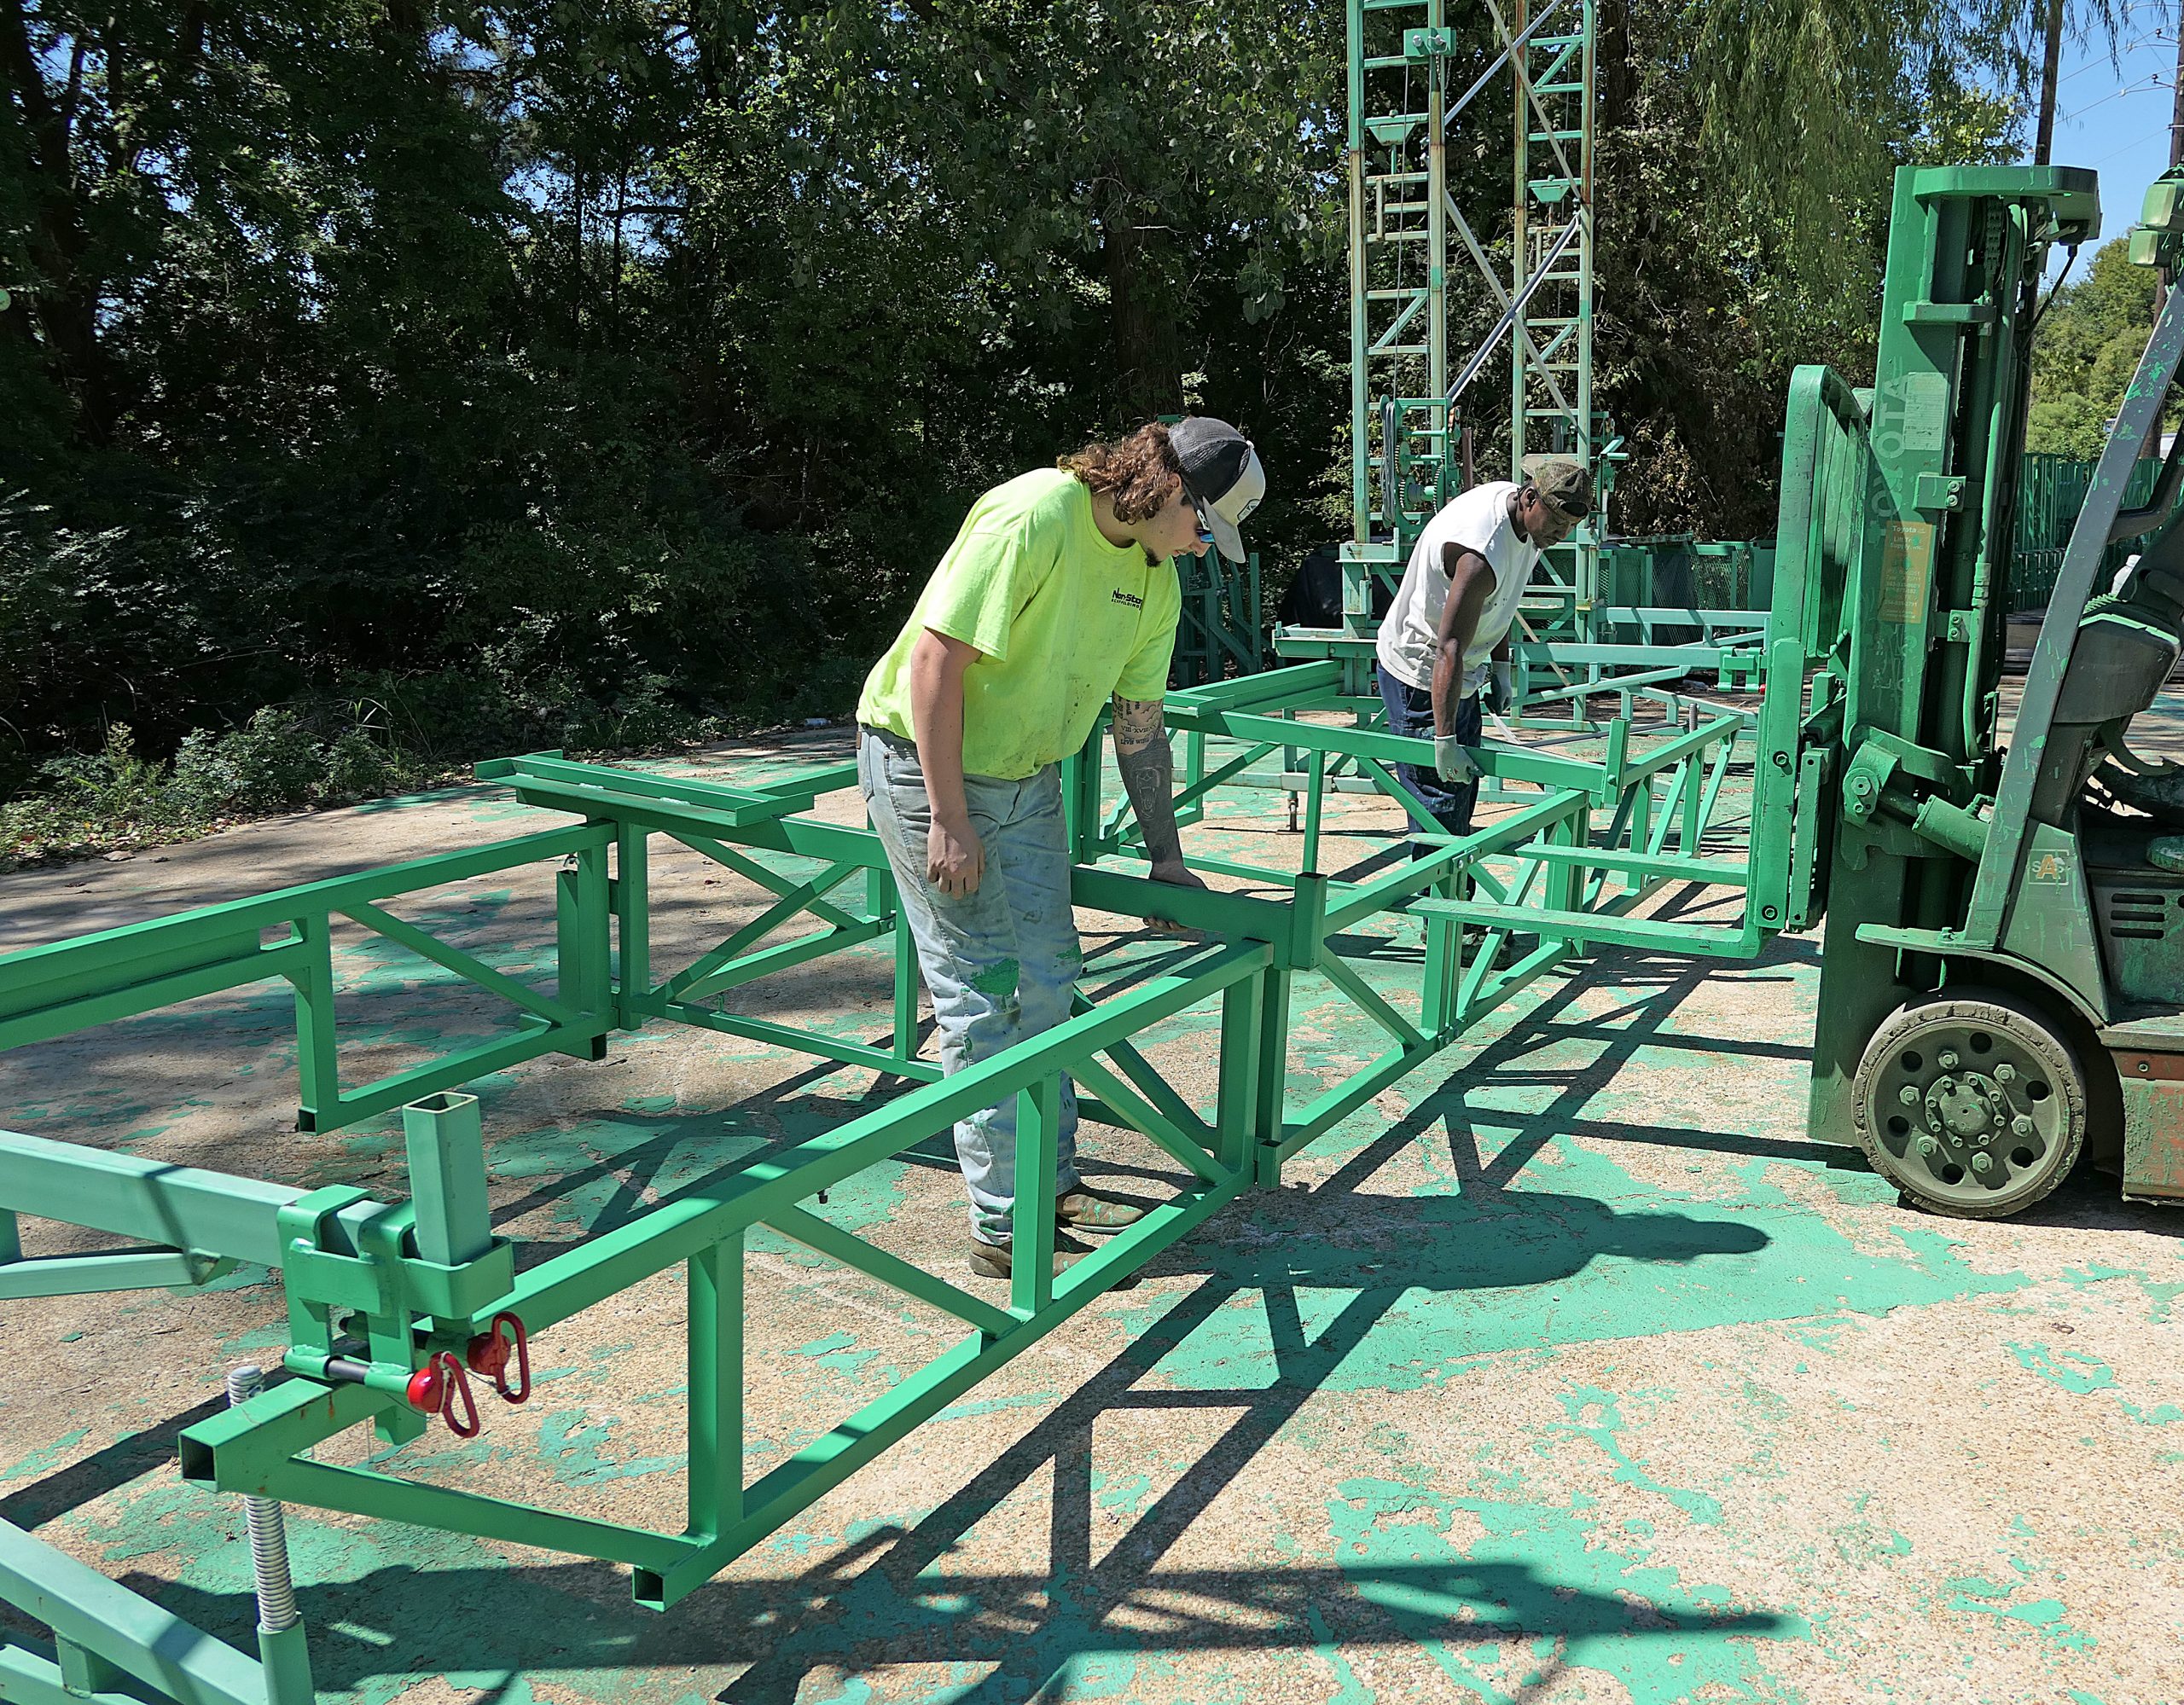
Install 2 straight braces between the trusses, one on each side of the middle bay.

Install an x-brace in the middle bay between the two platform brackets.

Install planks. Bricklayers really like the level workbench created on our scaffolding when planked with cut-boards. Our bridges are cut-board ready, or you can use 16-footers in the workbench area (3 boards wide) if desired.

The laborers platform is 5 planks wide and can be decked exactly like the rest of the scaffolding, with 16-footers or short boards.
Remember, the ends of your planks must extend at least 6 inches past the center of their supports.

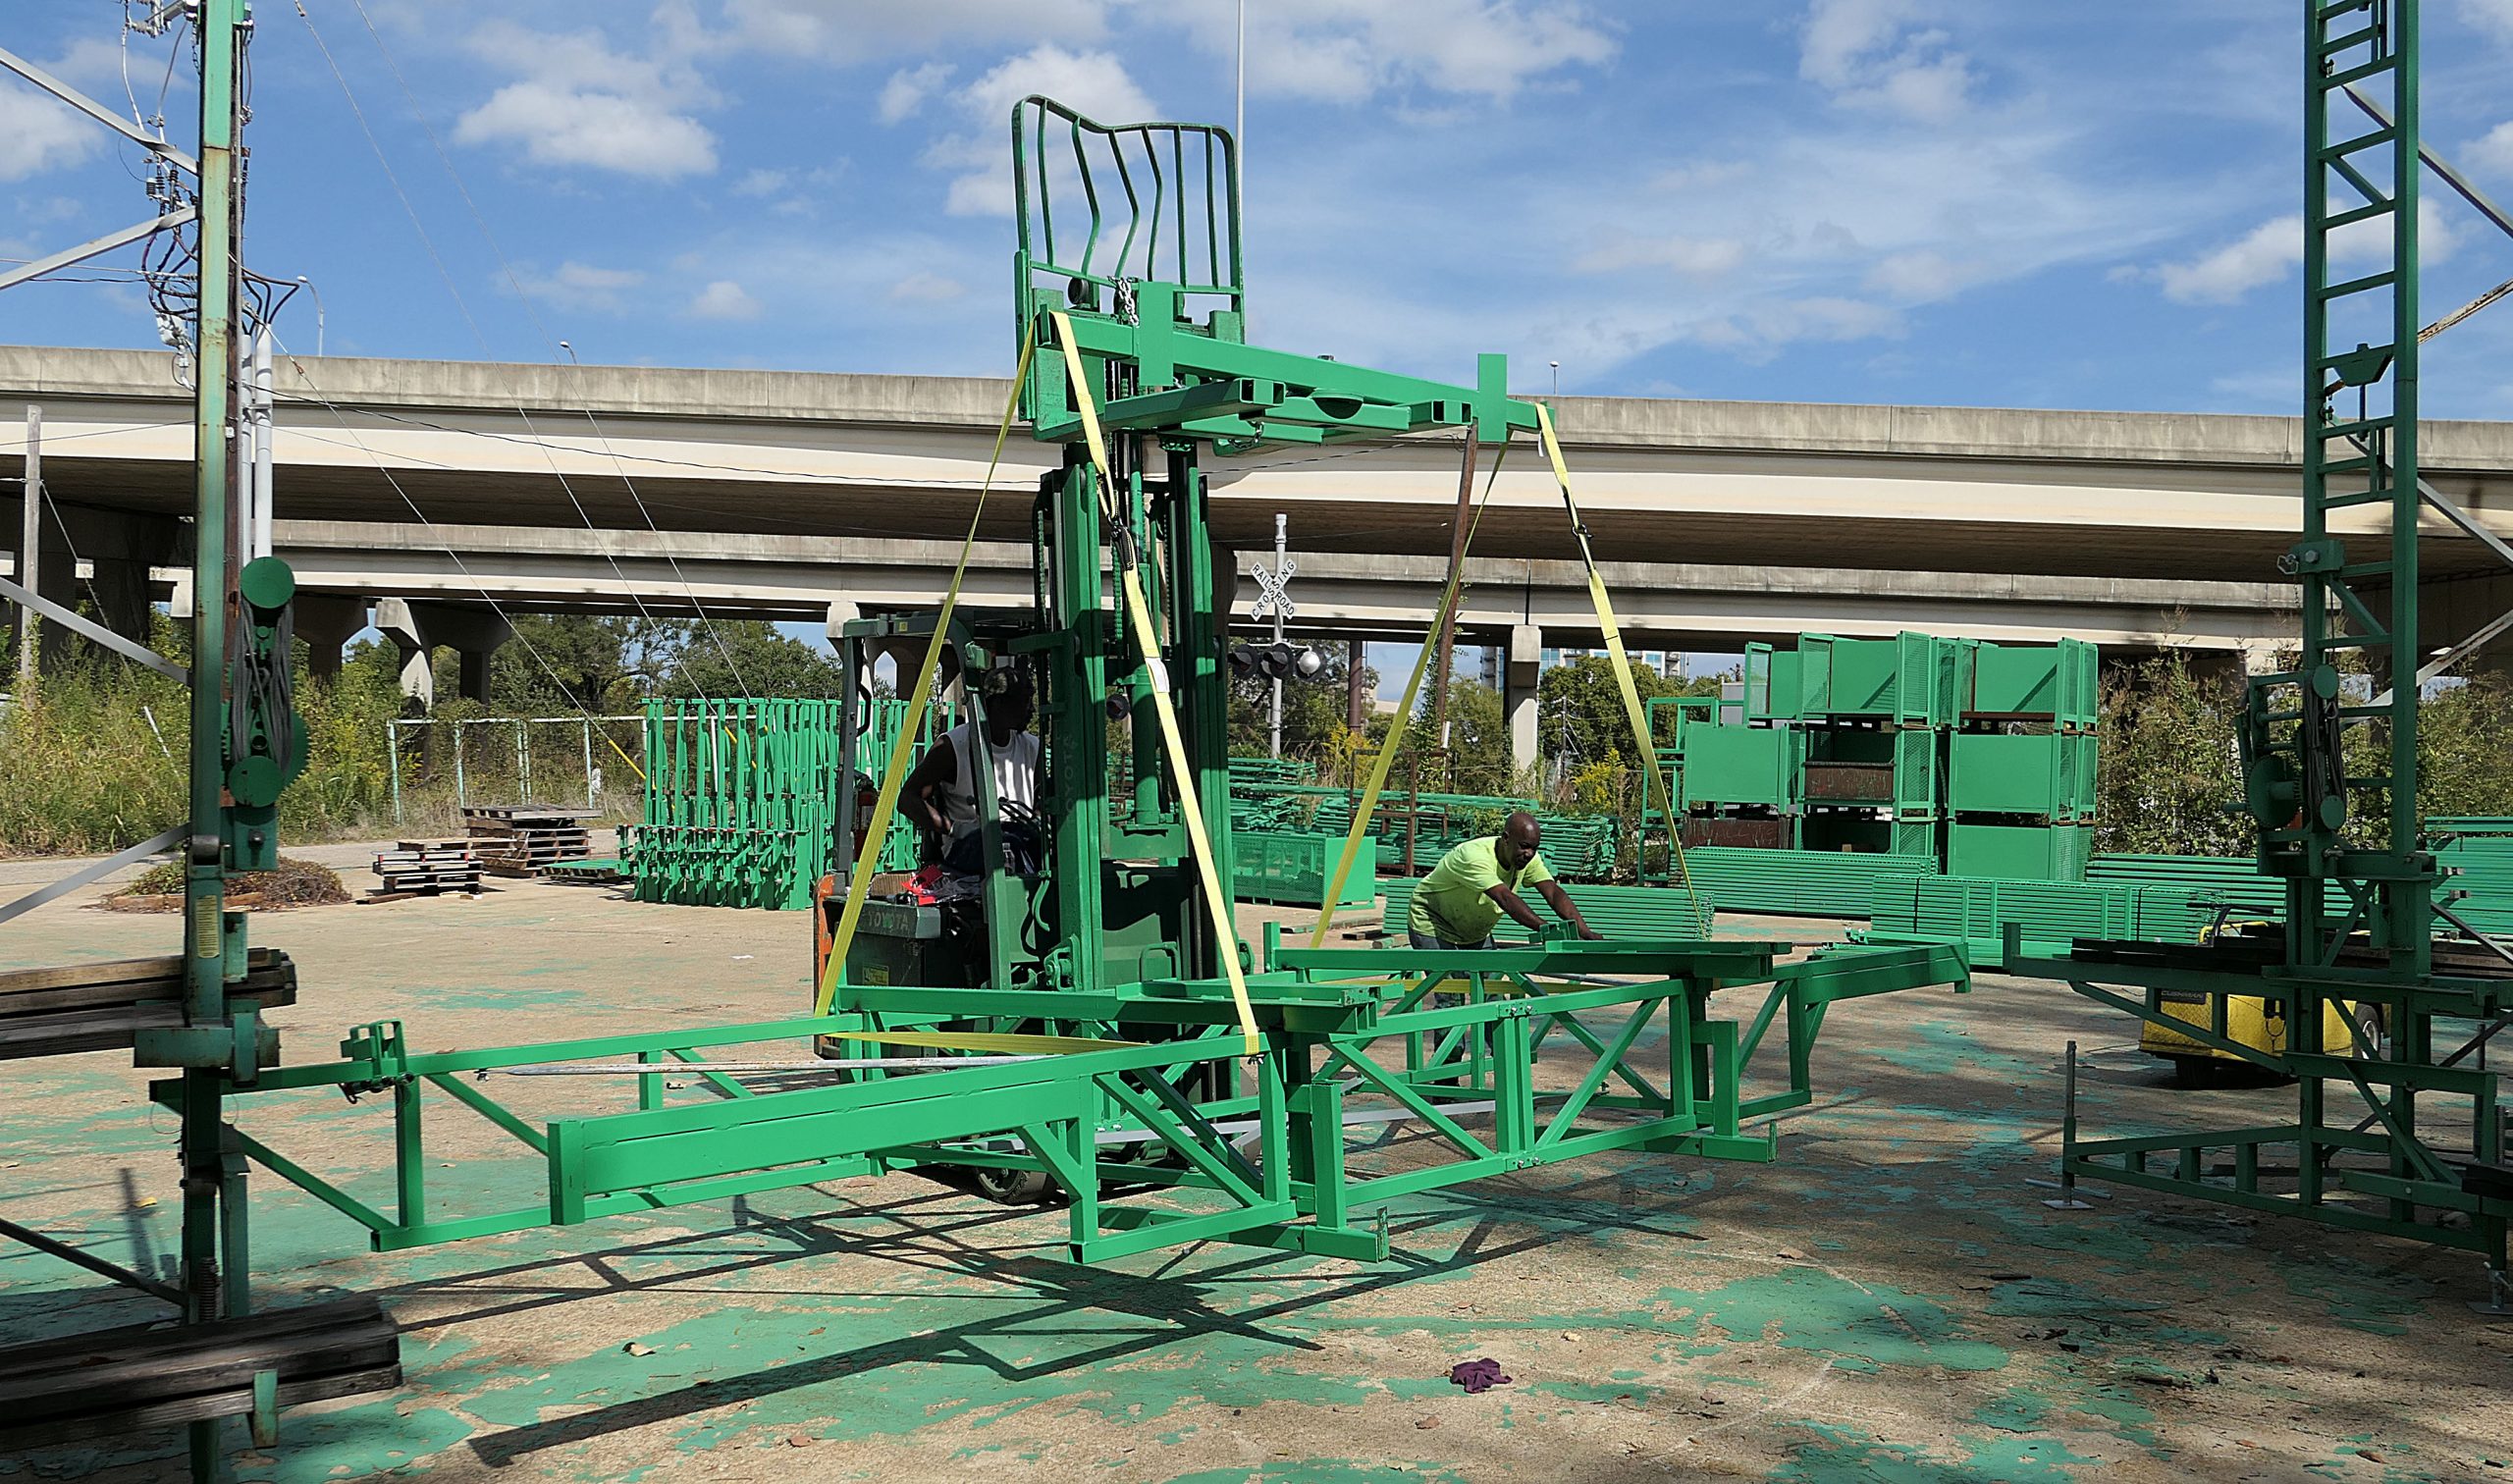
MOVING THE BRIDGE FROM WALL TO WALL
Use Your Swivel Forklift Bar and Straps
The straps you see in the picture are 20-foot straps hooked together with a half-inch shackle.
The straps are placed on the trusses themselves, not the platform brackets.
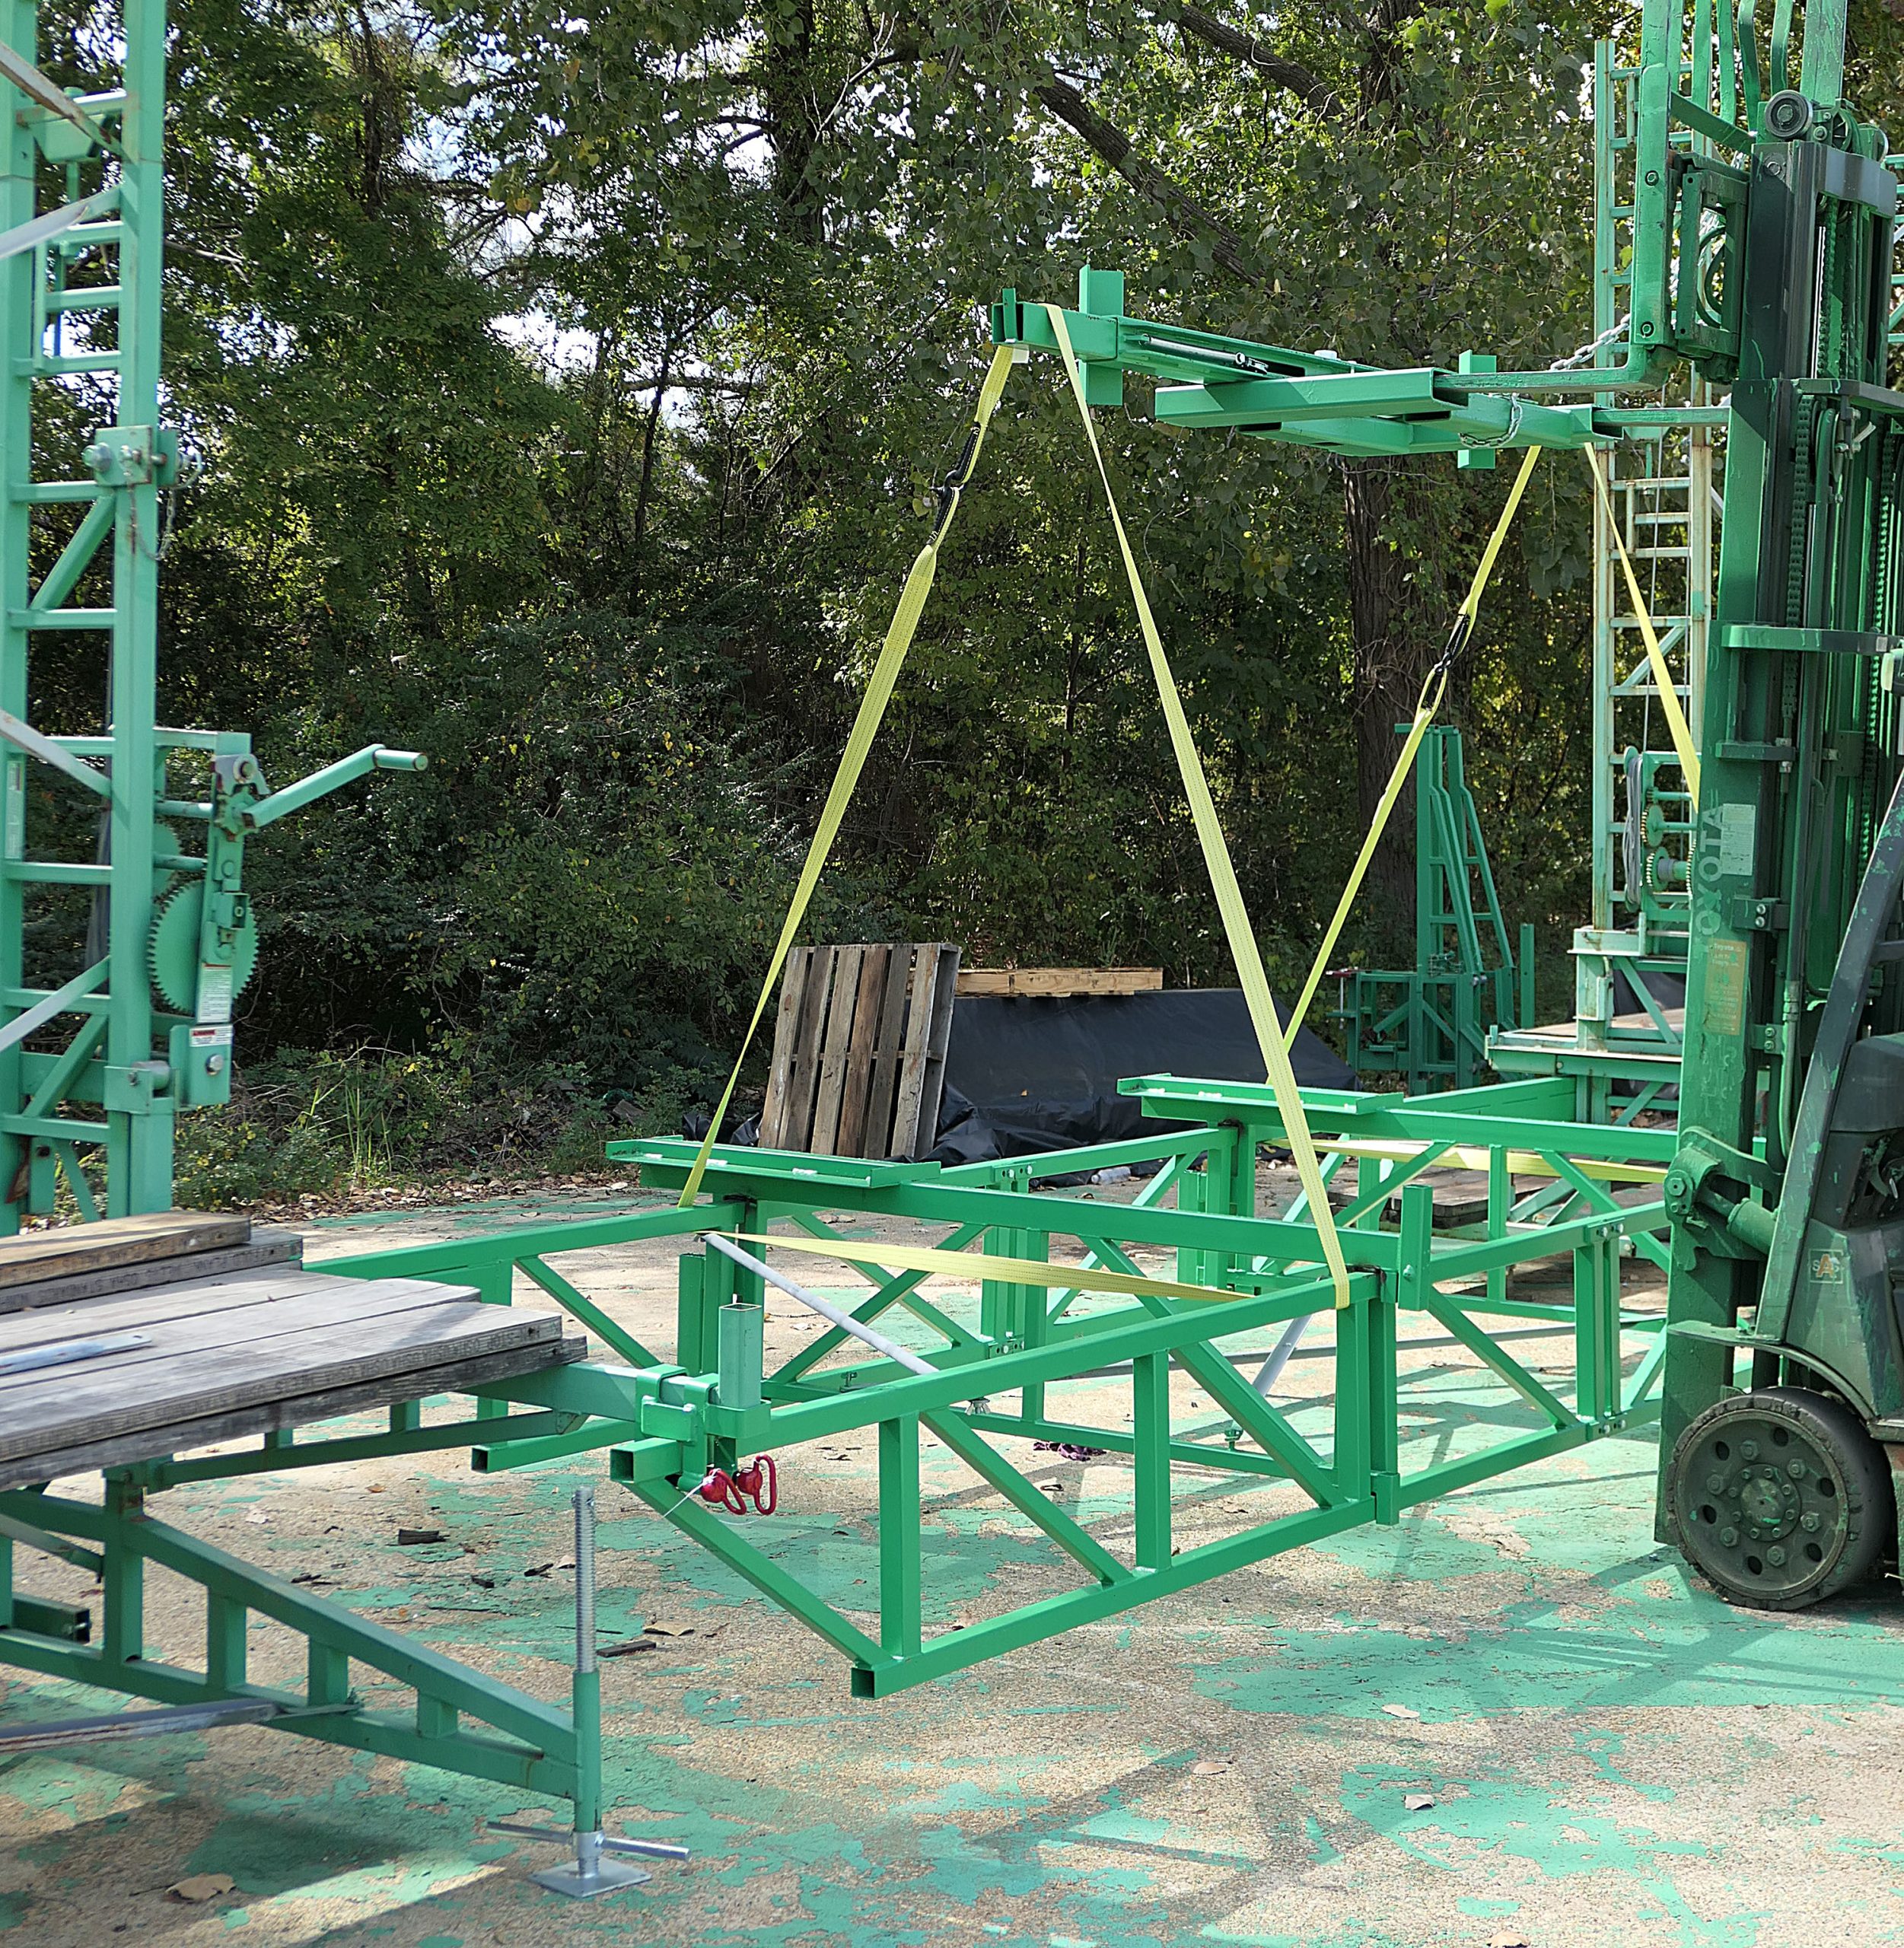

Pick up slightly to remove the pressure from the pins holding the truss to the truss hanger. Then, pull the two pins securing the truss to the scaffold.
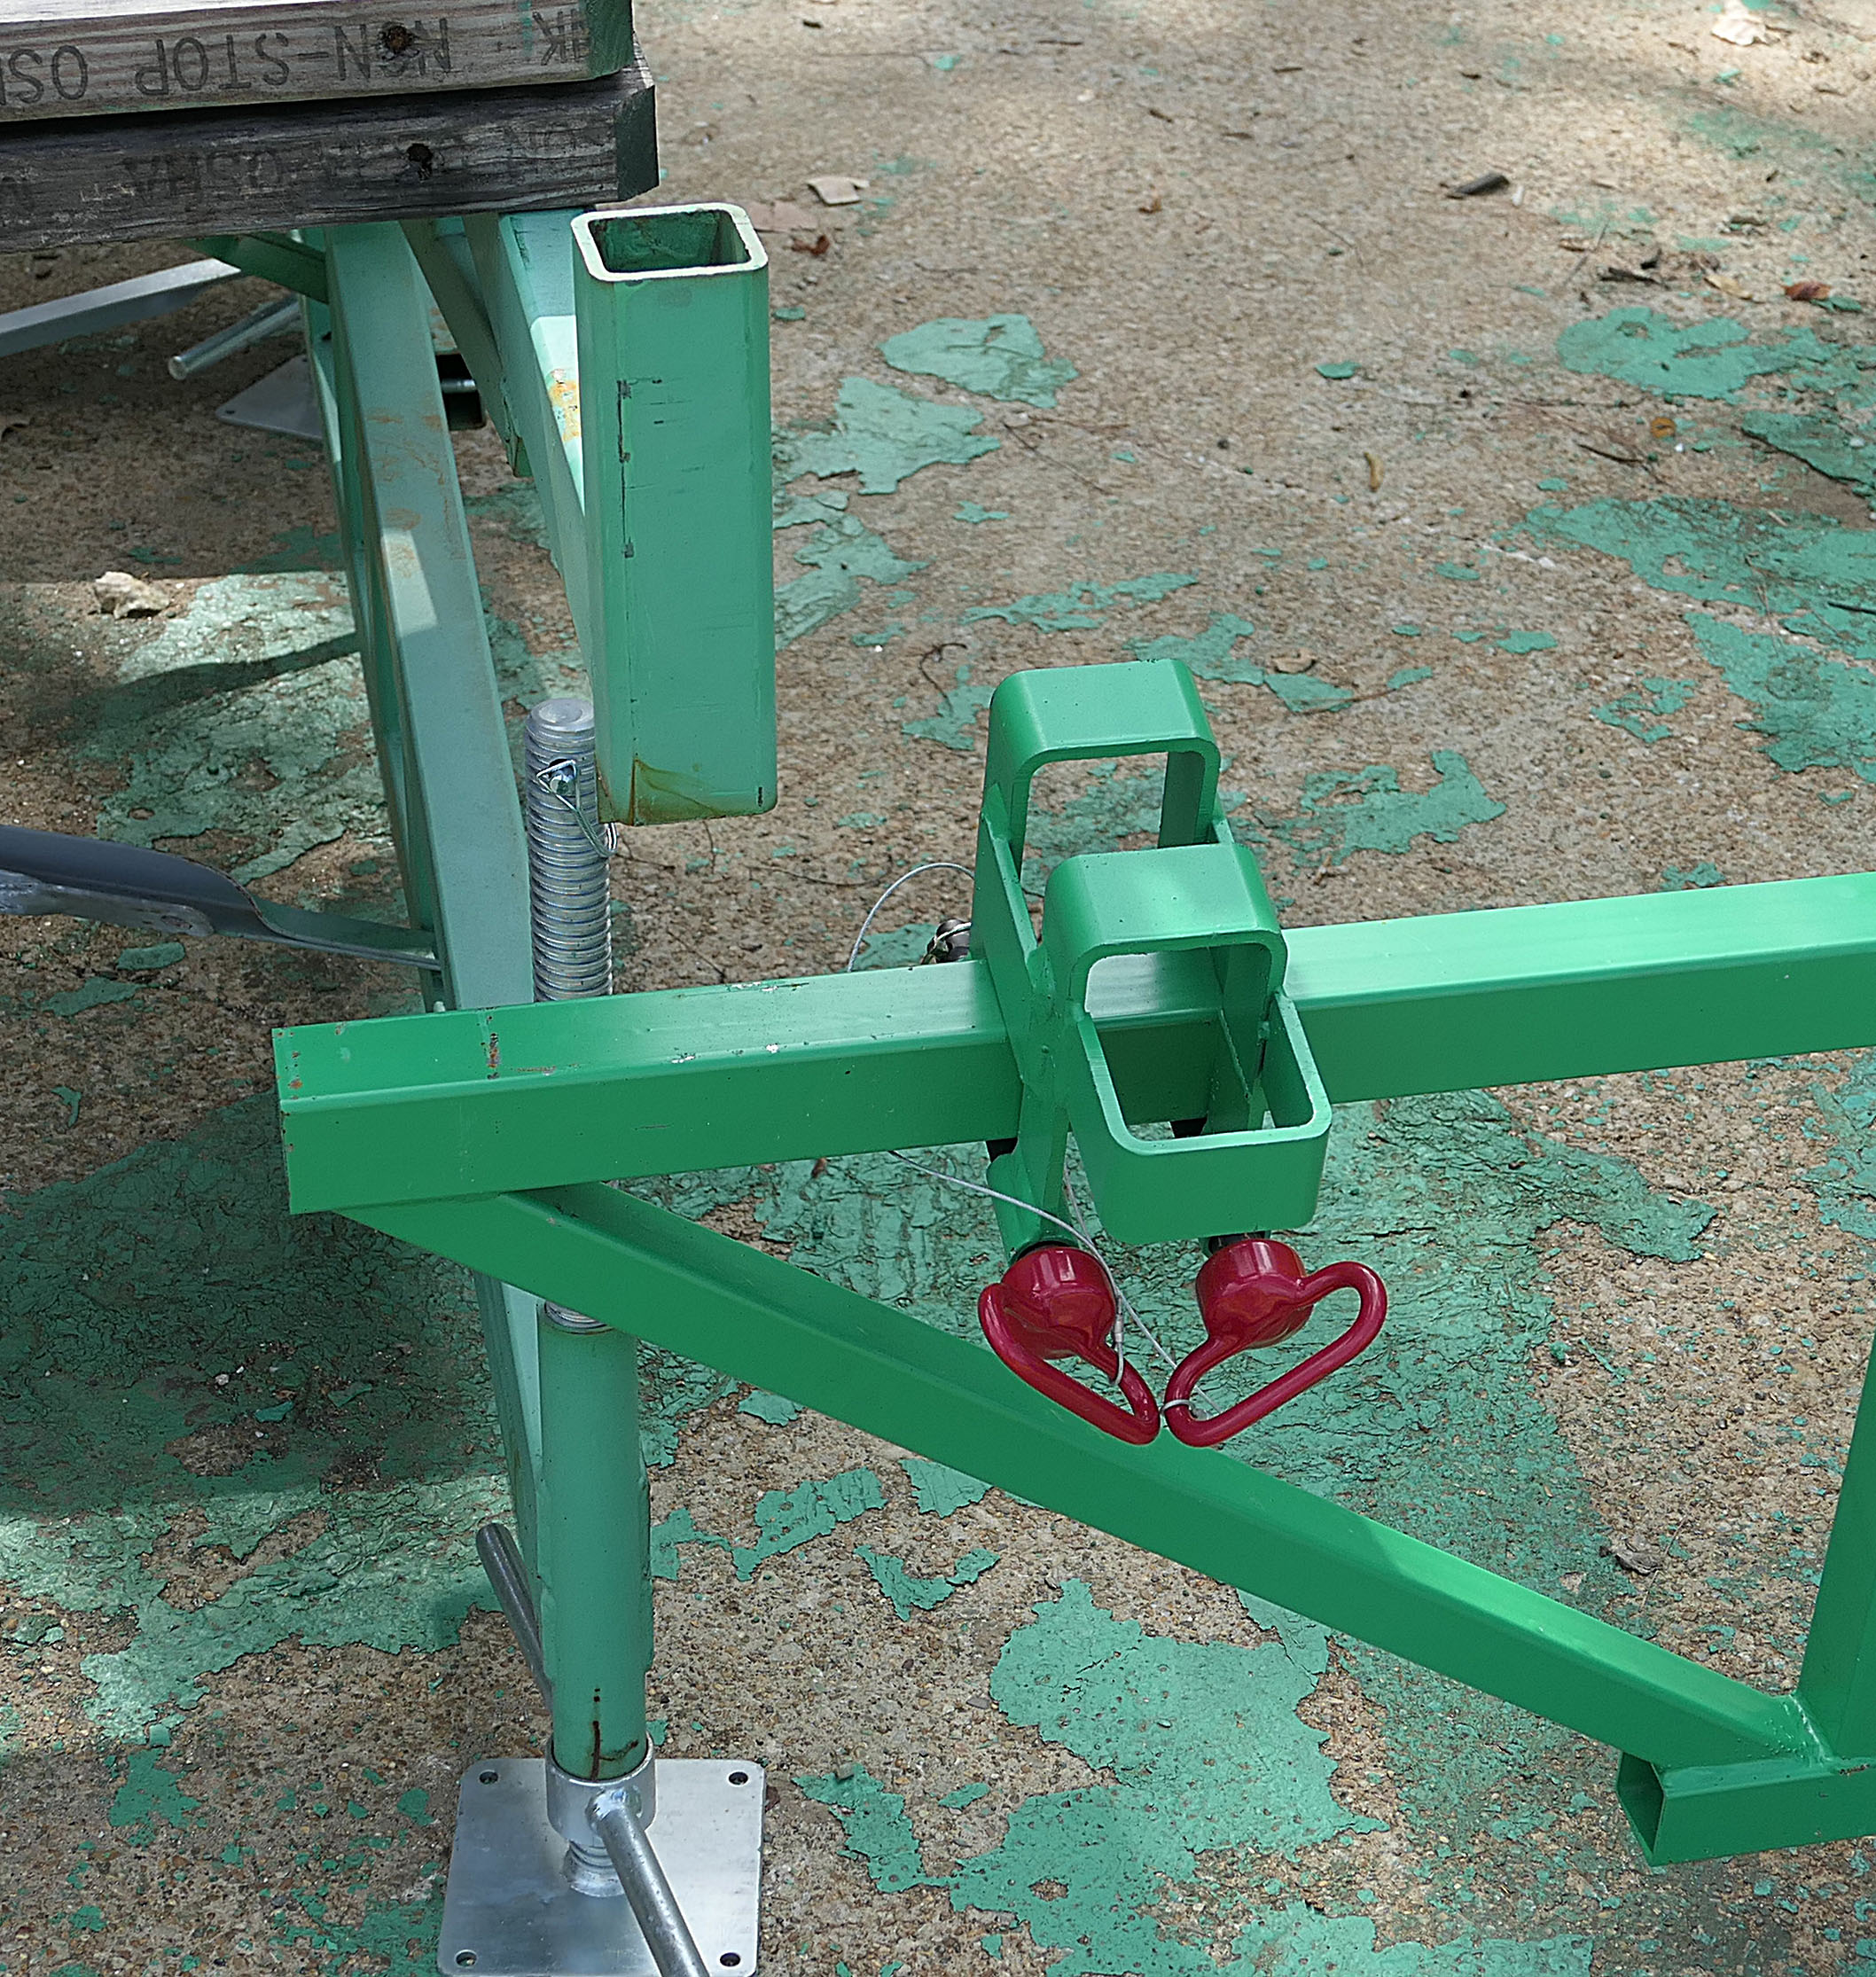
Immediately put the truss hanger on top of the truss to keep it from getting lost. Install both pins and their keepers.
Once the truss hangers are free, you can swing the bridge away from the towers on each end.
It may help to crank the platforms up about 8 inches to give you more maneuvering room.
Using straps makes it easy for one man to work the bridge free.