Access Landing for Heavy-Duty Scaffolding
Barricade Guardrail for Heavy-Duty & Standard-Duty
Braced-Bay Material Deck
Adjustable 21-Foot Heavy-Duty Bridge System
— Bridge System Comparison
— 21-Foot Bridge Installation Instructions
Barricade Guardrail
— Guardrail Post Socket for Pullouts
— Mason’s Guardrail Socket
Material Hoist System For Heavy-Duty
Inside Corner Brackets
Parts Basket – Man Basket
Pilaster Brackets
Rack Brackets
Rest Platform
Side-Stabbing Forklift Bar
Standard-Duty Overhead Protection – Winter Enclosure
Swivel Forklift Bar
Wall Tie-In Bracket
Heavy-Duty Winter Enclosure using Overhead Protection
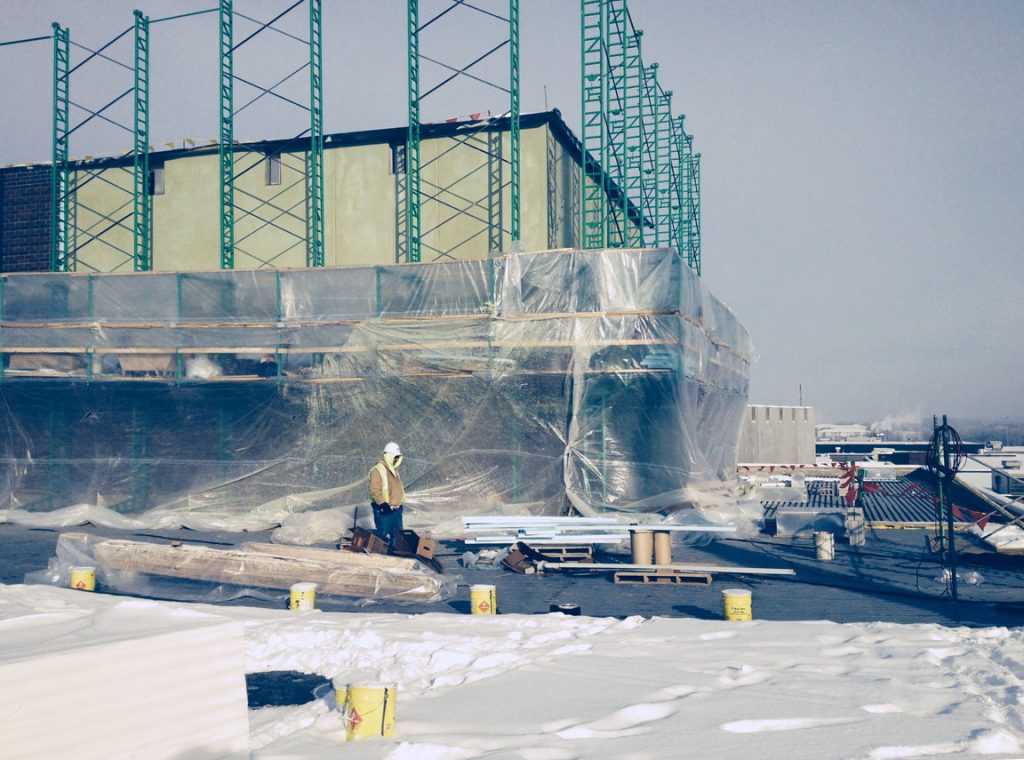
Heavy-Duty Winter Enclosure – Entire Scaffold
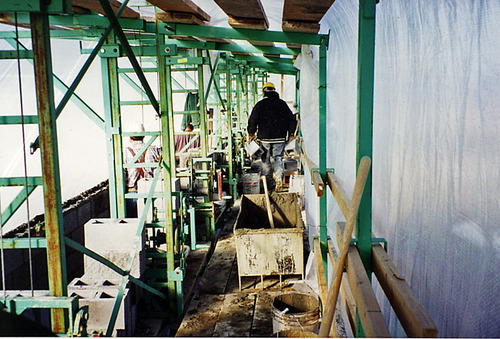
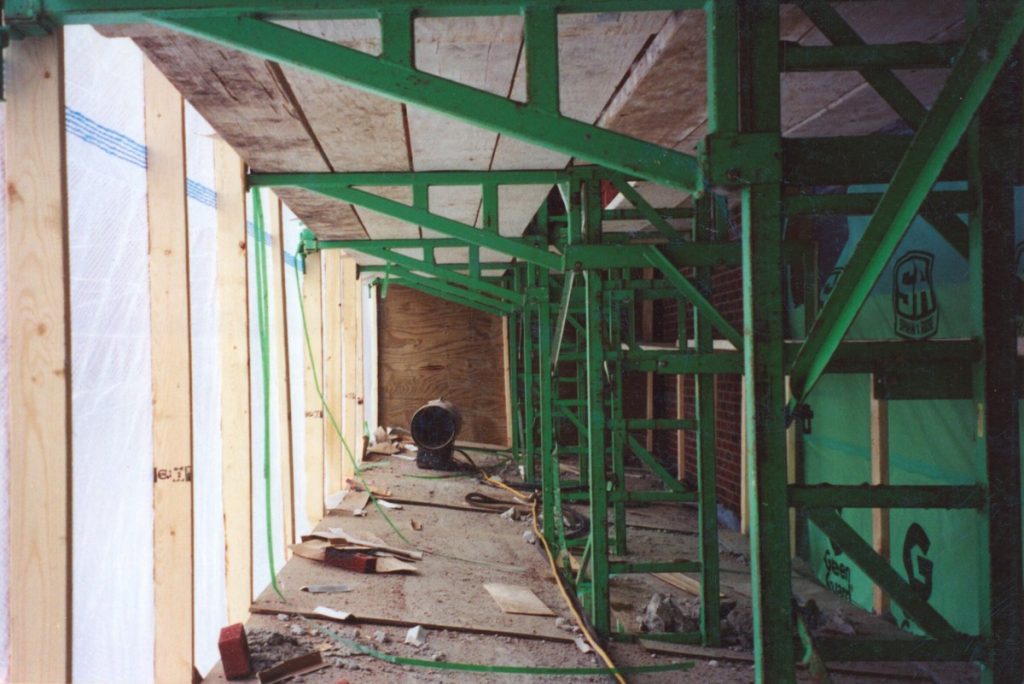
The Heavy-Duty Winter Enclosure is created using the components that started life as our Overhead Protection System. It is simply a 3-piece system that was initially used to protect the workers from falling debris.
Our cold-weather customers use it as a skeleton to hold planks, plywood, and reinforced poly. It rides up and down with the work platform.
Installation instructions are farther on down this page.



Installation of Overhead Components
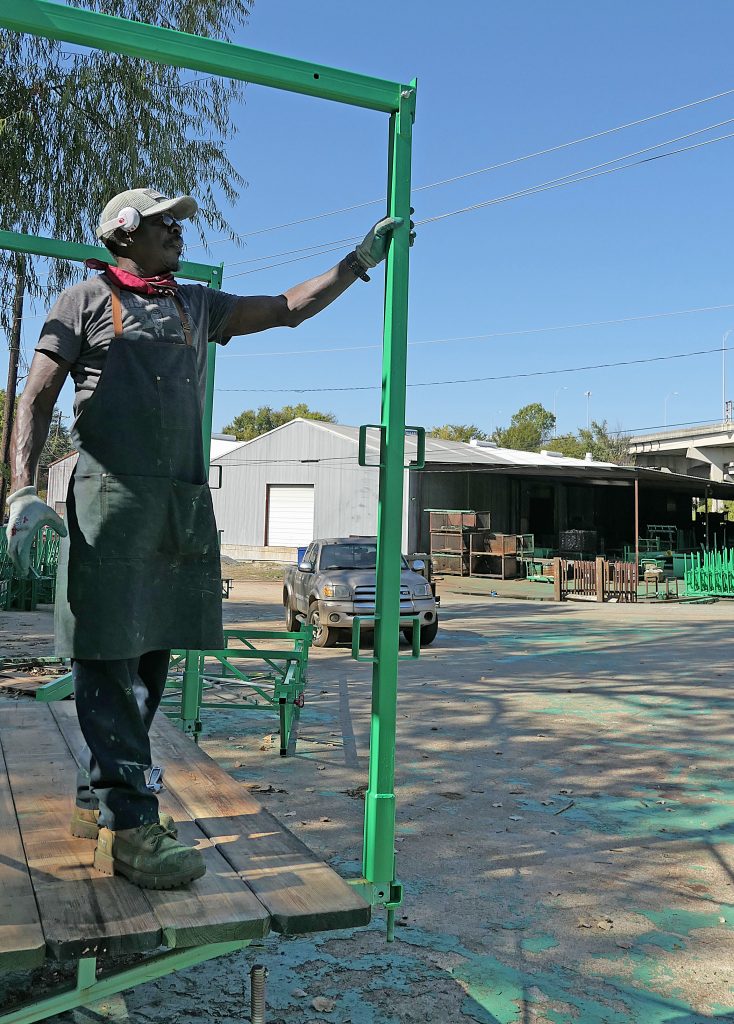
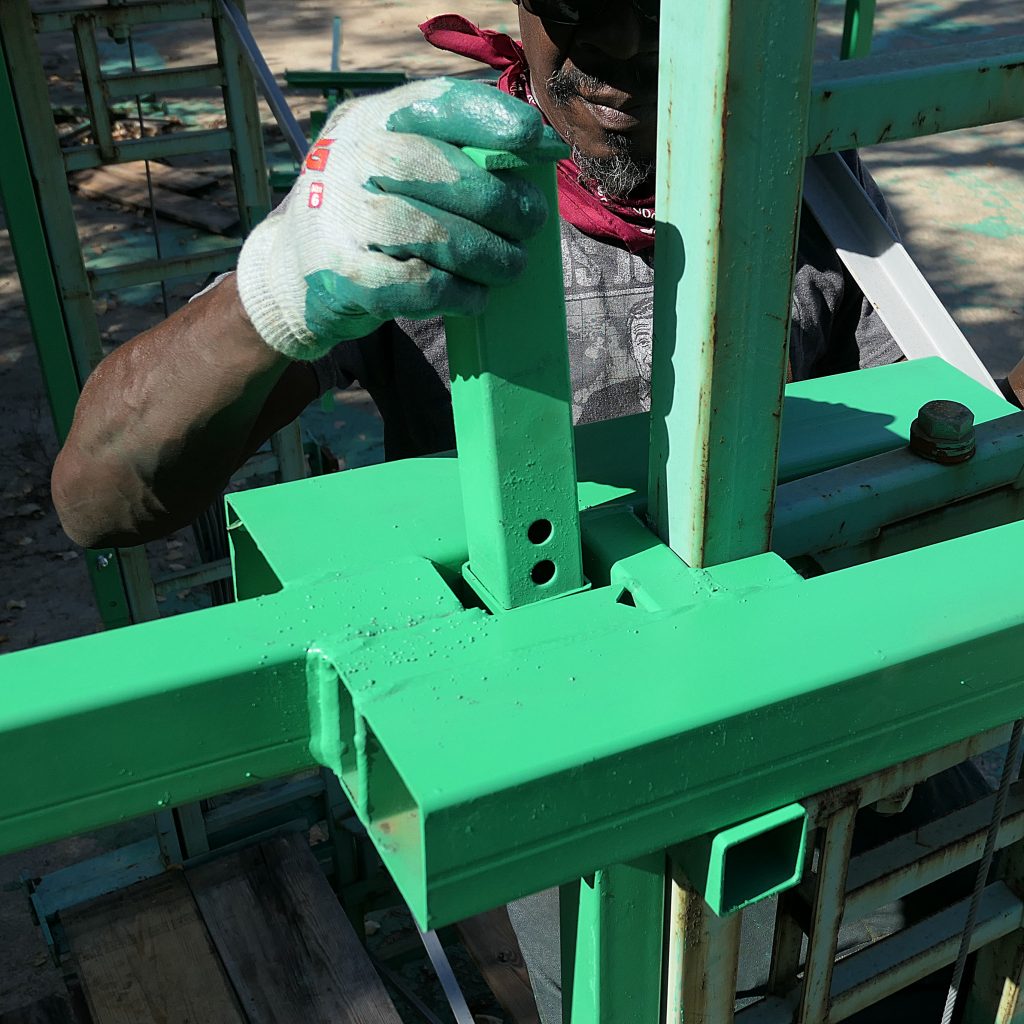
You start out by installing a Tall Guardrail Post. Make sure all of yours are the same length because we make some that are extra tall for our Hoist System.
The Tall Guardrail Post is the part in the worker’s left hand.
We make an End Guardrail Panel that clamps to two of the loops that hold your 2×4 guardrails.
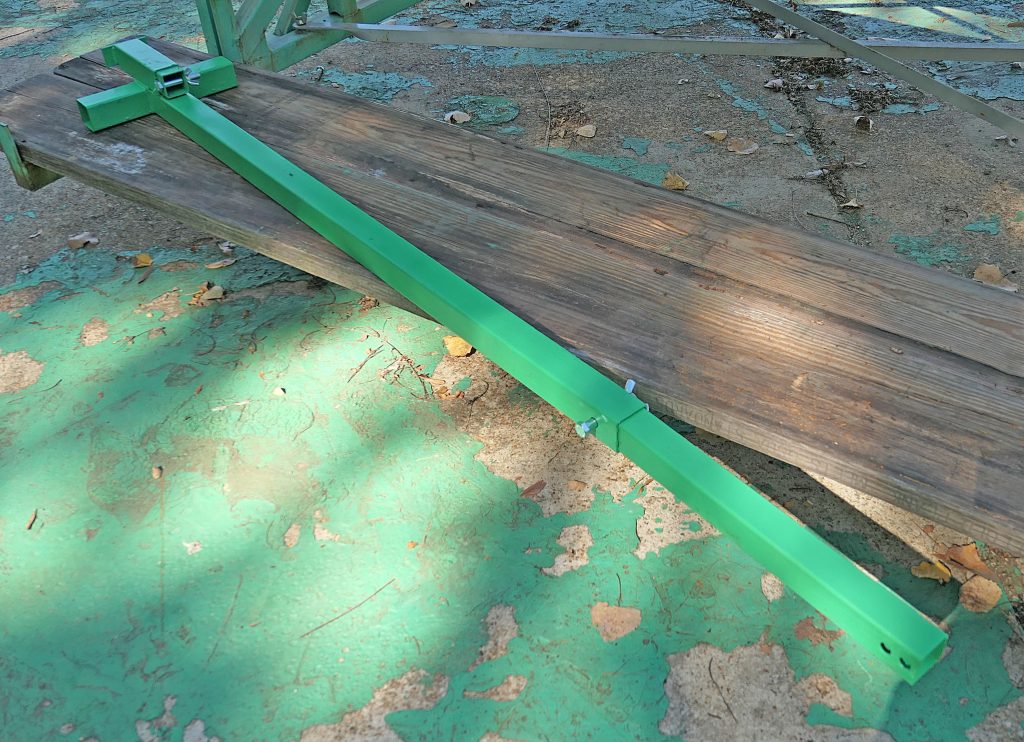
Next install the part we simply call the “football goal” because that’s exactly what it looks like when you’re holding it in your hand.
It comes with an extra long roller shaft. It will replace the roller shaft on your carriage. Use your same roller.
Notice that the hole for the shaft is off-center so that the piece of square tubing can point straight up.
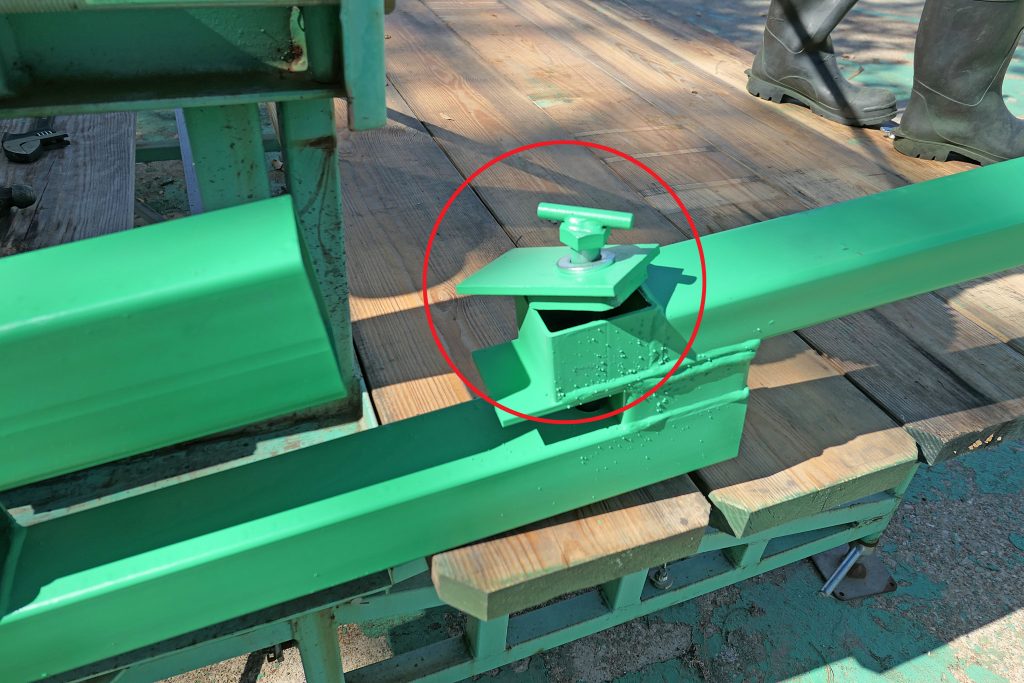
Loosen the keeper (red circle) on the Overhead Beam, It must be “open” to install the beam on the tower.
Next, install the Overhead Beam on the tower. One side of the Beam has an opening to allow the x-braces to pass through it. Be sure it is oriented on the tower correctly.
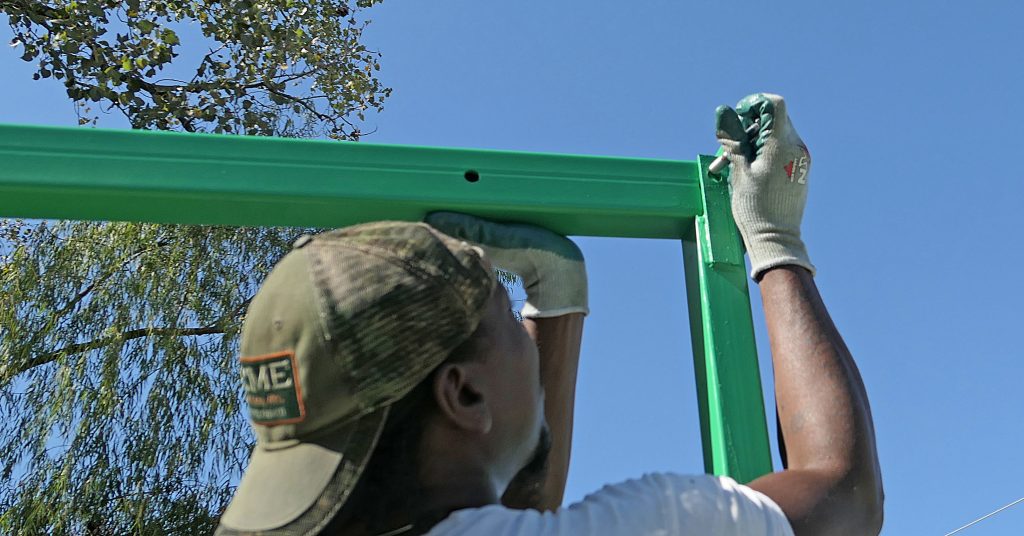
Attach the Overhead Beam to the Tall Guardrail Post with the bolt and wingnut.
There are two holes in the beam, one for current 5-board Non-Stop Heavy-Duty and one for the old 4-board.
The Masons’ End Guardrail is usually a Barricade Guardrail.
It clamps to the walk boards wherever you like.
